PHP projects are becoming ever larger and with that size comes complexity that can be difficult to manage.
Typically a PHP project will start off small, some basic webpage views, maybe a few forms, and likely, some sort of search functionality. This is pretty basic and if things need to change, you can normally change it in place, directly on the web-server and without too much grief.
At some point though entropy takes its toll and incremental changes have so may unintended side-effects it's no longer feasible to safely make edits in-place. A quick hack directly on the web-server stops being a 'quick win', and more like a game of Russian Roulette.
This is where unit and integration testing comes to the fore. A safety net to protect us when we start changing an application. But often getting a test environment set-up and representative of the live system is a lot of work in itself, and the temptation to just give into the 'Inner Pig' is too great. That is, to not bother running any tests, and just cross fingers.
Jenkins makes this a lot easier by doing much of the heavy lifting of building and running tests. It will check that code complies with defined style conventions. It can also check for common coding smells (copy/paste, duplication, long methods, large classes, poor expressions) and it can run custom scripts depending on the success of unit and integration tests.
Essentially Jenkins ensures that any changes that go into source control, do not 'break the build' in a process known as Continuous Integration.
Installation is very easy. Visit the Jenkin's site, follow the instructions for your platform and you'll have a Jenkins's install running (by default) at http://localhost:8080. I have also written a small installation tutorial: Installing Jenkins on Ubuntu/Debian Systems.
To get Jenkins initially dressed up for PHP follow the jenkins-php.org site upto and including the setup the Pear packages and Jenkins plugins.
You may or may not run into trouble with these instructions. For the most part it worked fine for me, however I chose to use the cli-tool and the plugin repository was not initialised. To get up and running, I had to force the plugin list to refresh manually.
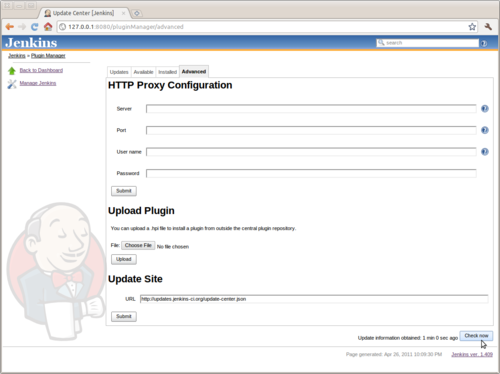
Manage Jenkins > Manage Plugins > Click the Advanced Tab
If you're like me and want git or svn scm access, you'll want to install these plugins as well, as they are not included in the list on the jenkins-php instruction page.
Once the PEAR packages and Jenkins Plugins are installed, you're now ready to start preparing your application for Continuous Integration.
The initial configuration can be quite terse, as you will need an initial ant build file, and sample configurations for PHP Code Sniffer and the other code analysis tools. Thankfully Sebastian Bergmann - author of PHPUnit and much of the Jenkins PHP suite of tools - has developed a project wizard utility to simplify these initial configuration steps.
Install the PHP Project Wizard from the PHPUnit channel:
$ sudo pear install phpunit/ppw
Once installed, you can change into your project dir and run it with a few arguments to setup your initial build environment.
$ ppw --name 'My Project' --source ./lib --tests ./tests
You can also specify arguments defining default rulesets for PHP Code Sniffer and PHP Mess Detector. Omitting these arguments sees ppw select some sane defaults for you.
Now install the Jenkins PHP Job Template:
$ cd path/to/jenkins/jobs
  $ git clone git://github.com/sebastianbergmann/php-jenkins-template.git php-template
  $ chown -R jenkins:nogroup php-template/
  $ curl http://localhost:8080/reload # set this to be the path:port to your jenkins server
Jenkins and your system are now ready to manage a PHP Project. Please see my tutorial on Setting up a PHP Project in Jenkins for how to setup your first project in Jenkins.